
Create your first service
A service is the thing customers book: a haircut, a class, a consultation. Five steps, about two minutes. You never touch the Shopify product admin: the matching product is created and published for you.
1. Open the service builder
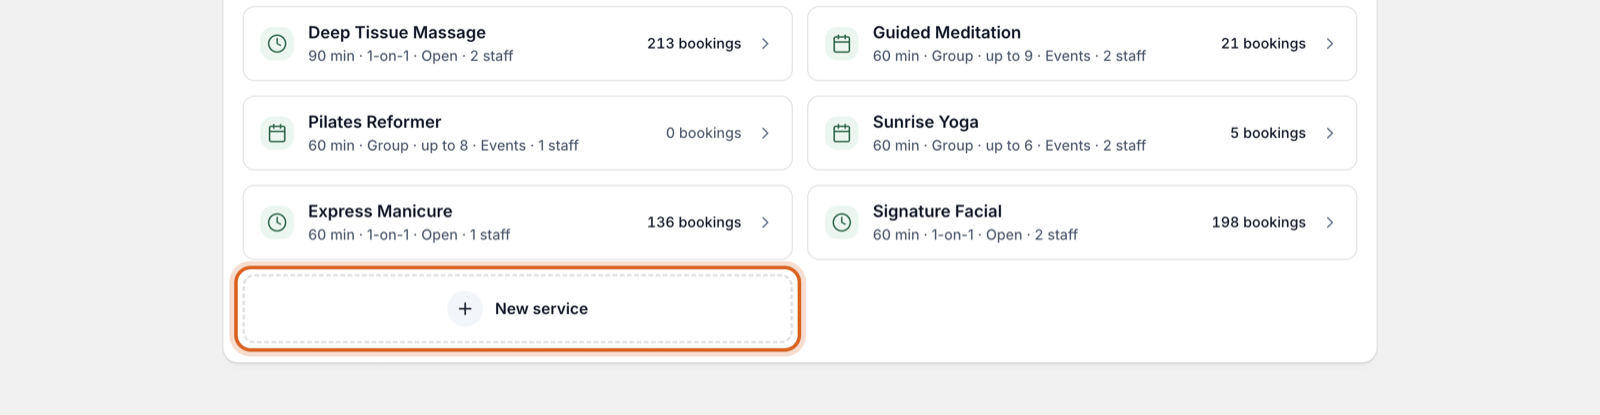
In the app, go to Services and click New service.
2. Pick the booking style
The builder asks what kind of service this is. Pick the closest fit; it sets sensible defaults, everything stays adjustable, and a Change type button lets you switch later.
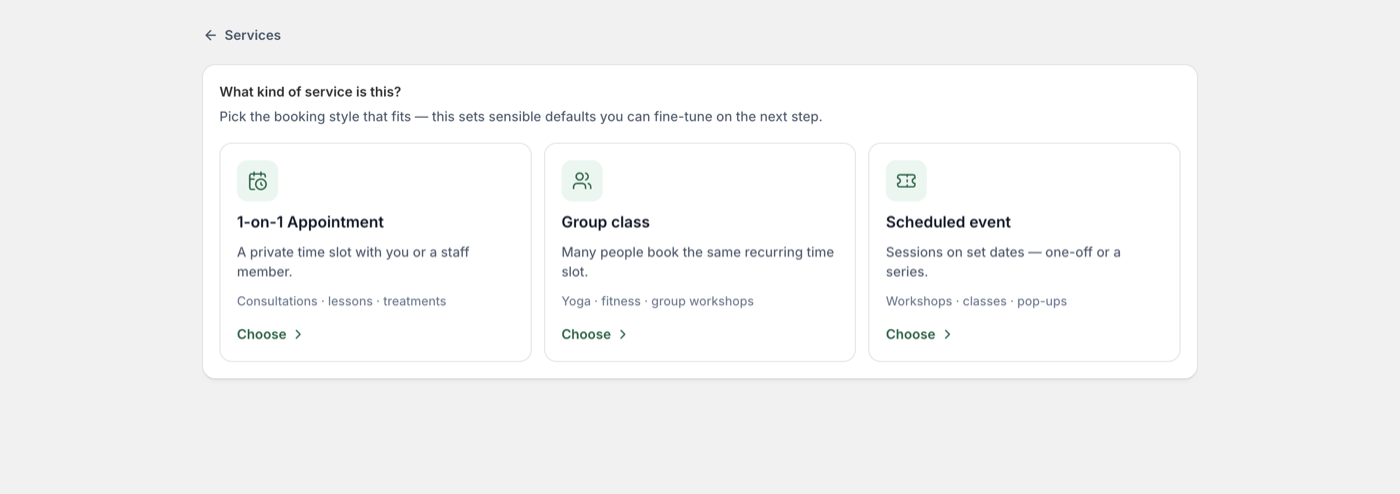
- 1-on-1 Appointment: one customer per slot. Consultations, lessons, treatments.
- Group class: many people share a recurring slot, with a capacity. Yoga, fitness, workshops. Slots show how many places are left.
- Scheduled event: sessions on set dates, one-off or a series. Workshops, classes, pop-ups.
3. Name it and price it
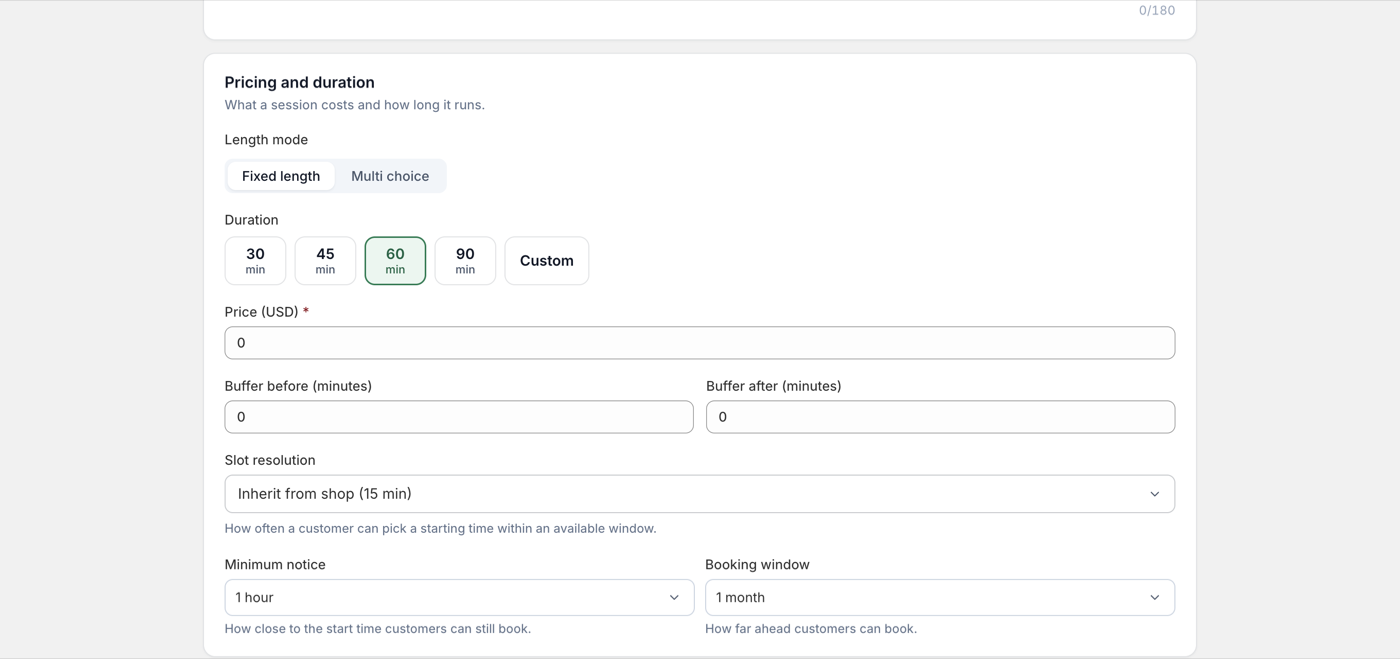
In Identity, give the service its name and a short description; both appear in the booking widget. In Pricing and duration, pick how long a session runs and what it costs. Fixed length is one duration and one price; Multi choice lets customers pick a length (30, 60, or 90 minutes, say) with a price per option.
Also on this page: Location. In real life, or Virtual with a video link (Google Meet or Microsoft Teams) sent automatically with every confirmation.
4. Decide how customers pay
The Checkout flow section has three options:
- Standard checkout: the customer pays through your Shopify checkout, and the booking arrives as a normal order. Taxes, discounts, and refunds work the way they already do.
- Free: no charge, no checkout. The booking confirms instantly.
- Pay on arrival: reserve now, pay at the venue. The widget and emails say so clearly.
5. Assign who does it, then create
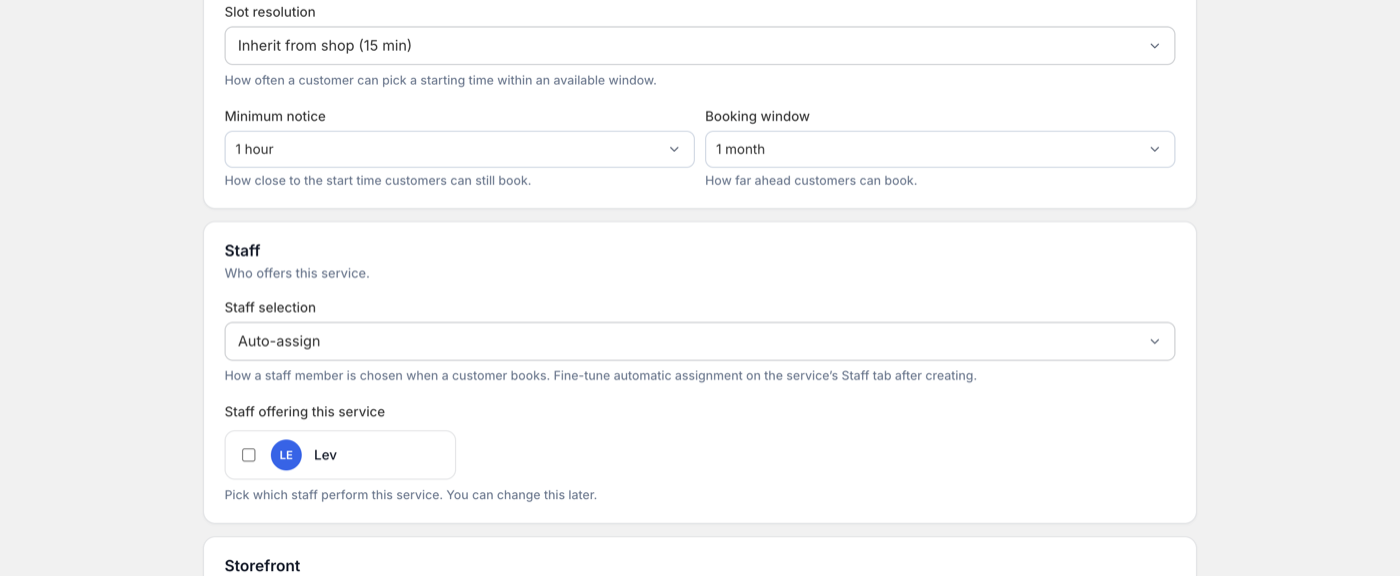
Tick the staff members who perform this service. Let customers pick a person, or have the app assign whoever is available. Then click Create service.
Verify it worked
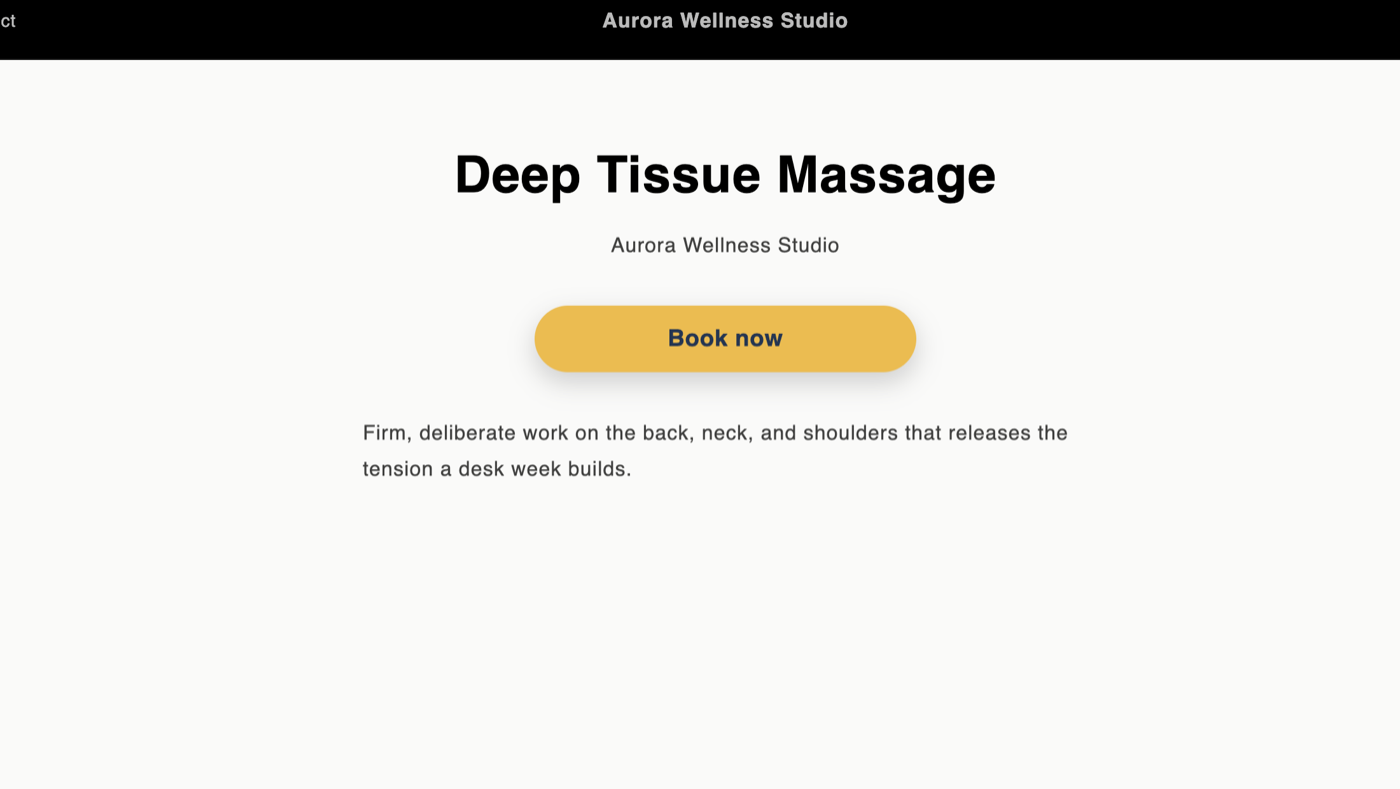
Open the service's product page on your storefront. The theme's “Add to cart” is replaced by Book now, and clicking it opens the booking widget with your real availability.
Quick answers
Do I need to create a Shopify product first? No. The app creates and publishes it when you create the service, and keeps it in sync afterwards.
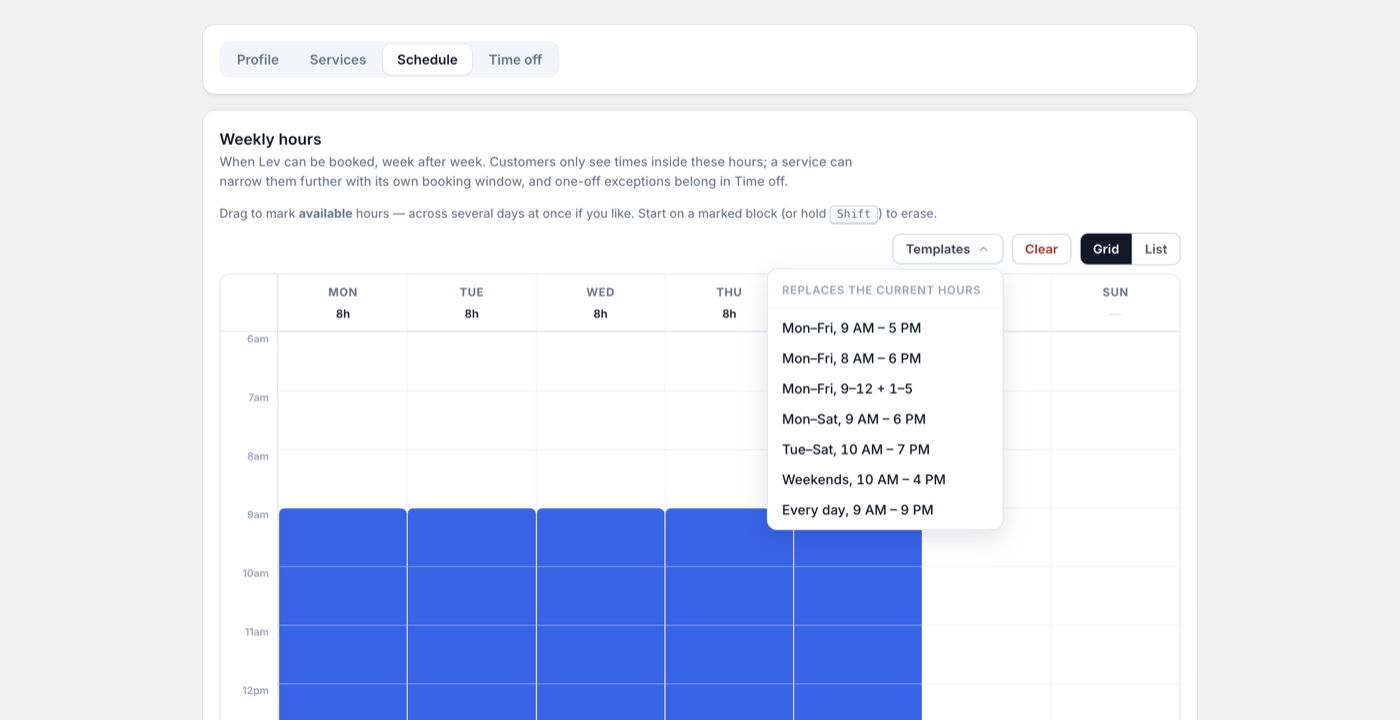
Where do I set availability? Slots come from the assigned staff's weekly hours (Staff → Schedule), optionally narrowed by the service's own booking window. Group classes and events run at the fixed times you define instead.
Can a service be free? Yes. Pick Free in the Checkout flow section and bookings confirm instantly with no payment step. Pay on arrival reserves the slot and collects nothing online.
Where does the service appear on my storefront? On its own product page, anywhere you link that page, and in any Booking Calendar or Services Directory block you've placed.
Made a mistake? Everything is editable after creation, and the editor shows a live preview of the storefront widget while you change things.