
Add the booking widget to your theme
The widget lives in a Shopify theme app extension. You switch it on from the theme editor. There is no code to paste, and uninstalling the app removes everything cleanly.
1. Turn on the app embed
- In Shopify admin, go to Online Store → Themes and click Customize on your live theme.
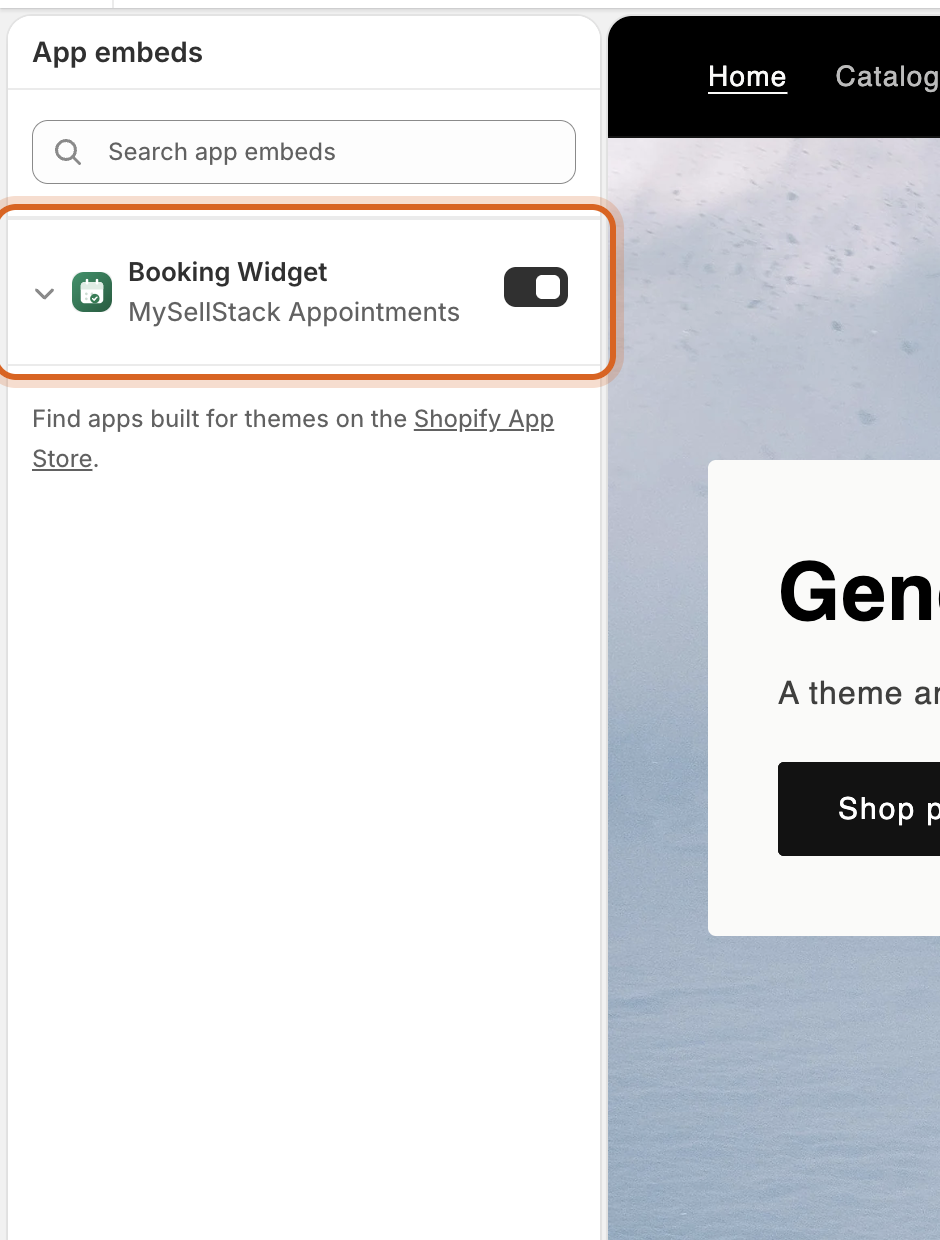
- Open App embeds (the puzzle-piece icon in the left sidebar).
- Toggle on Booking Widget by MySellStack Appointments and click Save.
2. What changes on your storefront
On the product page of every service you’ve created, the theme’s “Add to cart” area is replaced by a Book now button that matches your theme’s styling. Clicking it opens the booking widget.

Products that aren’t services are untouched. The embed adds nothing to pages without booking content.
Optional: inline blocks
Beyond the pop-up, two app blocks can be placed anywhere your theme accepts sections (Add section / Add block → Apps in the theme editor):
- Booking Calendar: the full booking flow embedded directly in the page, calendar and all. Good for dedicated “Book an appointment” pages.
- Services Directory: a browsable listing of your services that links into booking. Good for a services landing page.
Checking it worked
Open a service’s product page on the storefront in a fresh tab. You should see Book now in place of the cart button. If not, walk through the troubleshooting checklist. It’s nearly always the embed toggle or an unsaved theme.